.svg)

How much is knowing what your warehouse team is doing in your warehouse worth to you? This is the question ShipHero's WMS team asked when we decided to design WorkforceHero. Labor is one of the most expensive aspects of any business and low productivity or mismanagement can mean a huge hit to your profitability.
That's why ShipHero's new WMS feature, WorkforceHero is here to help you increase revenue, and make the most of your warehouse teams. By leveraging all of the data ShipHero is already collecting, including picking and packing efficiency, worker productivity and total shipment numbers, WorkforceHero enables you to make the most of your workforce. And it allows your employees to manage their breaks and assume accountability throughout their shift. Plus, your managers can make changes throughout the day to make sure that SLAs and high prioirty projects are completed on time and on budget.
Hello everyone and welcome to another episode of ShipHero featured walkthroughs. I'm joined today by Valerie Cancian, our associate product manager. So how are you today Val? I'm doing fantastic. How are you Danno? Good, for asking. So today we'll explore one of my favorite ShipHero features, WorkforceHero. Val, please tell us everything about this awesome feature. Absolutely, I'm very excited. Happy to hear it's one of your favorite features. We're really proud of this one too. What WorkforceHero is is dashboard that's available now where you can use your job assignment for your entire team in a single view. This is very useful, 'cause it allows you to detect if your team is on balance. For example, as you'll see here, we have nine, oh sorry, nine people packing with four people picking. You wanna make sure we have a clear ratio of pickers to packers and you'll be able to see a clear view of where everyone is working to make sure that you have the right people in the right place at the right time doing the right thing. You also can see in this view if someone's on a break and for how long you don't need to call out like "hey, where's so and so?" They're on a break. You can see if they're on a break straight from this screen as well as seeing how much time is being spent on the activities. So before I deep dive into this dashboard though, I actually wanted to take a step back, go over the permissions so that you can access this page as well as some of the settings 'cause you'll see here, we have some red alerts, there's some settings on how you could set those alert thresholds. I'm gonna show you that and then we'll come back to this screen. So just some housekeeping if you will. So in order to access this page, you will need WorkforceHero permission. This is important 'cause you're not gonna want anyone to just access this page. This is usually more of like a manager or an ops role or if you're, you know, running multiple warehouses and you wanna see these views, this is gonna be very important for you. But you might not want just anyone accessing this page and seeing what's going on. So on our users and role permissions there is a permission called WorkforceHero. You'll need to give a user access here in order for them to be able to view this board. If you are an admin, you will already have access, but otherwise you'll need to do that here. Also you're gonna wanna set up some settings. So under Settings, so your navigation bar, on your left hand side here, you go down the bottom you'll see settings. There is a new setting for WorkforceHero and this allows you to set your alert thresholds. You kind of got a sneak peek when we were looking at the board in the beginning. You'll see sometimes someone will light up as red. So why was that happening? That's because we are tracking inactivity for pickers and packers. So they pack in order, how long before they pack another order before we want to trigger an alert or picking idle time? They pick something and then how long of a grace period do we want before they scan in another pick before sending off an alert. You know, sometimes you have to walk over, walk around the warehouse to take time. This gives a good idea if maybe something is lost or just insight on why things are taking time. That way you can show an alert. We also have alerts for your lunch, your paid break or a time that someone has no job. And these are customizable. So this is the default, but you're able to come in here and set these. So if your lunchtime is 30 minutes and someone doesn't return in 30 minutes, it'll show us right on the screen and you'll have those alerts. So very clear visibility on this new dashboard. On this navigation, so we got permission, we got our settings. You'll see that there is a section four WorkforceHero. When you expand this, we have three options. So we have our live view, which is that dashboard that we're gonna dig into. We also have a shift management and then our kiosk. Let's take a look at shifts and then we'll take a look at our kiosk. So for shift management you're able to create work shifts, assign manager or managers and then also assign people to that shift. Someone could be assigned to multiple shifts but they shouldn't be overlapping. You could have a Monday to Friday shift and a weekend shift, but you wouldn't wanna shift that overlaps 'cause then we wouldn't know when one was starting and the other one was ending, if that makes sense. So here we have a few shifts set up. We have our early shift, which is Monday to Friday, 7:30 to 3:30. We have our manager assigned and one person early, me, very early. I'm not a morning person. So that was, that was harsh. And then we have our weekend shift, which is Saturdays and Sundays. Again, we have our manager there and then you can see who was assigned. This can be edited. So you can rename it. You also can reassign managers. So if you just can edit, you know, if we don't wanna call this the early shift, we just wanna call this shift one, whatever works for you you can add multiple managers if you would like. We can add a second manager and then we can assign other people to this as well. And you can also remove someone assign more people and then just edit it. Hit Save, and you'll see it's updated. And then if you wanna create another shift, up on the top right we have create shift and you click there, you'll be able to create another shift. So if we have shift one, which is you know, early in the morning, then we can create shift two. And then you let us know what days this is. And this is very customizable, you can do, so our shift two will be nine to five. I'll keep it nice and easy. Then you'll hit next. And again you can assign your managers for that shift. And then who is working that shift? There we go. And then we can edit that as needed. All right, so you have, you assigned your shifts you have your alerts, you have your permissions. So how do we like log into these jobs? So let's go to our live view and then we'll go back to the kiosk in a moment. So as you can see here, we have our team currently assigned different jobs. You can see who's working what. But how does WorkforceHero know what jobs people are doing? Well there's one of two ways. So some jobs are actually auto detected. So picking, packing, cycle count, mobile replenishment as well as receiving. Once someone starts one of those tasks, WorkforceHero will pick it up, it will auto detect it, it'll assign them to the job and start tracking the time. So those are automatic. But you also have an option to create jobs that might be unique to your own warehouse. For example, we have something called water spider. If you want to create a unique job up on the top right we have a great job option. You can name it special projects, water spider. Maybe if you had some sort of like put away stuff, they, name it as you would like. But for these, they'll have to actually clock into the job so that we can start tracking it. So how do we clock into the job, right? So what you'll do when you start setting up WorkforceHero is you will want to print out a badge for everyone. Let me show you what that badge looks like. So here's my user, I have no job right now and I am late, so I don't go onto the morning shift. You have an option to print badge. And what this badge will look like is it will have a QR code as well as a picture. And what you will need is a QR code scanner. But what they'll do is when they have this badge printed and you can laminate it and put it on like a lanyard, they will scan this in to our kiosk and that will assign them to a job. Now again, we have a few options here. So when you sign into the kiosk, you can choose a job, you also can assign someone a job. So when they clock in, it tells 'em what they need to do. So how would you assign someone a job? So as a manager you have a few views, you have this overview here where you can get just a clear visibility into where everyone is. But we also have a table view. If you move over to the table view, it's a little bit more tactical. And here you can assign people to their next job as well as remove them from jobs. And if they forget to log out, you can do that here as well. What you'll see is you get a list of all of your users. You can see who's out, who's working by status any warnings and alerts in a clear view. So these are those that have gone over those thresholds that we set at the beginning. You can see anyone who is not currently working, 'cause they're on break, who is working and overall who is in your warehouse, see who they are, their job, there's a sub job. The next job, that's what we can assign, the time spent as well as total time. In order to assign someone a job, you can click the check box next to their name. You also can do this in bulk. So if you wanna move a group of people to a new job, you can do that. Once you check their name, you'll see there's a few options. So you can assign them a job, you can remove them from their assigned job as well as finish their shift if need be. And you hit assign jobs, you'll see you'll have your list of jobs and you can search and you can put them as a new one and hit assign. I'm not gonna do that here cause I don't want to actually assign Albert on a job right now. But that's how you would do that process. Now someone may be asking who's watching this, like hey, do they get a notification? Not yet, but we are planning in the future to be able to notify. Currently what would happen is when they do go to the kiosk, which I will show you, and they take their QR code on their badge it'll just tell them their new job. For the kiosk, this can be a few different places. So you could have a computer set up, you could have a tablet, all with QR code scanners. And these can be throughout your warehouse if you'd like. You could have them in a stationary area. And what they'll do, they'll just scan in here, give their new job assignment, it'll show if they wanna go to lunch or break or end shift when they scan in their QR code here. Now we have our jobs that are auto detected, our users can sign in to jobs, we can create jobs. So let's take a deep dive into some of the data here. I know some of you love data, you're seeing numbers, great, but how do we make those useful? How do we export them? Well good news is that is possible. So we have a few export options currently, which is on the job level as well as for the individual user. When you look over here, we'll take packing for example. And you can see this is real time things are changing colors and popping up as as I'm speaking, which is very cool. This is a real time dashboard. So you have your three dots here, oh they're done. Single item batching, right? And then you could hit view activity log. And what this will show you is for the day, and you could select the date range, so who was working on this job and for how much time. And then this can be exported. So let's look at one with a little bit more data. Multi item batch usually has a lot of people and here you'll see a list of dates and all the different employees, how much time each person spent that day on this job as well as your total time spent. And you could export this to keep a note of trends, how, what days, maybe you have more pickers what days you might need less pickers. And overall, get an idea of how much time your workforce is spending on a certain task. And as you'll see here, you can export this. It will export the date, the time, the total, all of the employees and all of the total work hours as well as the individual hours. You also could get this on the employee level, which could be good for just overall like performance reviews or keeping, just keeping track of things. So if we go to a user here or you can print their badge, you can finish the shift you can assign 'em a job also from here, just not in bulk, but you can do this one at a time. And then you can view their log history, see all the different jobs they were doing. As you can see here, these are the auto detected ones. So they started a batch and then backed out of it and went into something else. And you're seeing how much time each of those jobs were done, all of the different jobs. This person has a lot of jobs. This again can be exported. You also can add a log. So for example, maybe you didn't create a job for this but you wanna give them credit for doing it. Maybe they ran an errand, they went to the post office to pick up, I don't know, those post office bins on some packaging and you wanted to track that. You could add a job that, is it already here? Put a note, track the time and it will add it to their log. So this includes everything we're tracking on the board but you could also add additional logs there as needed. You can always reprint their badge and of course, sort this by job and date range. We are working on additional exports that will allow you to export all of your jobs at once. So keep an eye out for that. That will be coming soon. Also an export for the alerts. Going back to the table view, you can see that these are broken down as well as this is also updated in real time. As you can see it's just updated again and you can see again your alerts. So I think when it comes between which view, I think it's sort of a preference. I do think certain people are gonna want that sort of like that live dashboard view just gives them a clear take. But some might actually find more value in this view as well. 'Cause you can just see who's in your warehouse very quickly, who doesn't have an assignment? All your warnings for all your different jobs and things of that nature. And up on top here, speaking of different views, you'll see that we have our warehouse for some, you know, you're working out of this is your warehouse your workforce in that warehouse. But we understand that sometimes you might be a 3PL manager, you have multiple warehouses and you wanna see how the different warehouses are doing. You are able to, as long as your permissions allow of course, to change the view and see the information for a different warehouse. So when you click this warehouse option here, it will allow you to update which warehouse you use and then you can see the information for a different warehouse. So there's a lot of different information that WorkforceHero offers. It gives you a lot more insight on what everyone is doing and how much time is being spent. And then you can use that data to hopefully make more strategic decisions and just manage your whole warehouse a lot better. So that, is that why this is your favorite feature Danno? A lot of good data here. Absolutely. has tons of information. Its transparency is amazing. Yeah. Indeed. Definitely adds transparency to like where everyone is and what they're doing. Okay, thank you very much Val. If you'd like to check out other featured walkthroughs click on the top right corner right now. And if you're ready to unlock your eCommerce fulfillment superpowers, visit ShipHero.com to schedule a call with us. Thank you for watching and have a great day. Bye.
.webp)
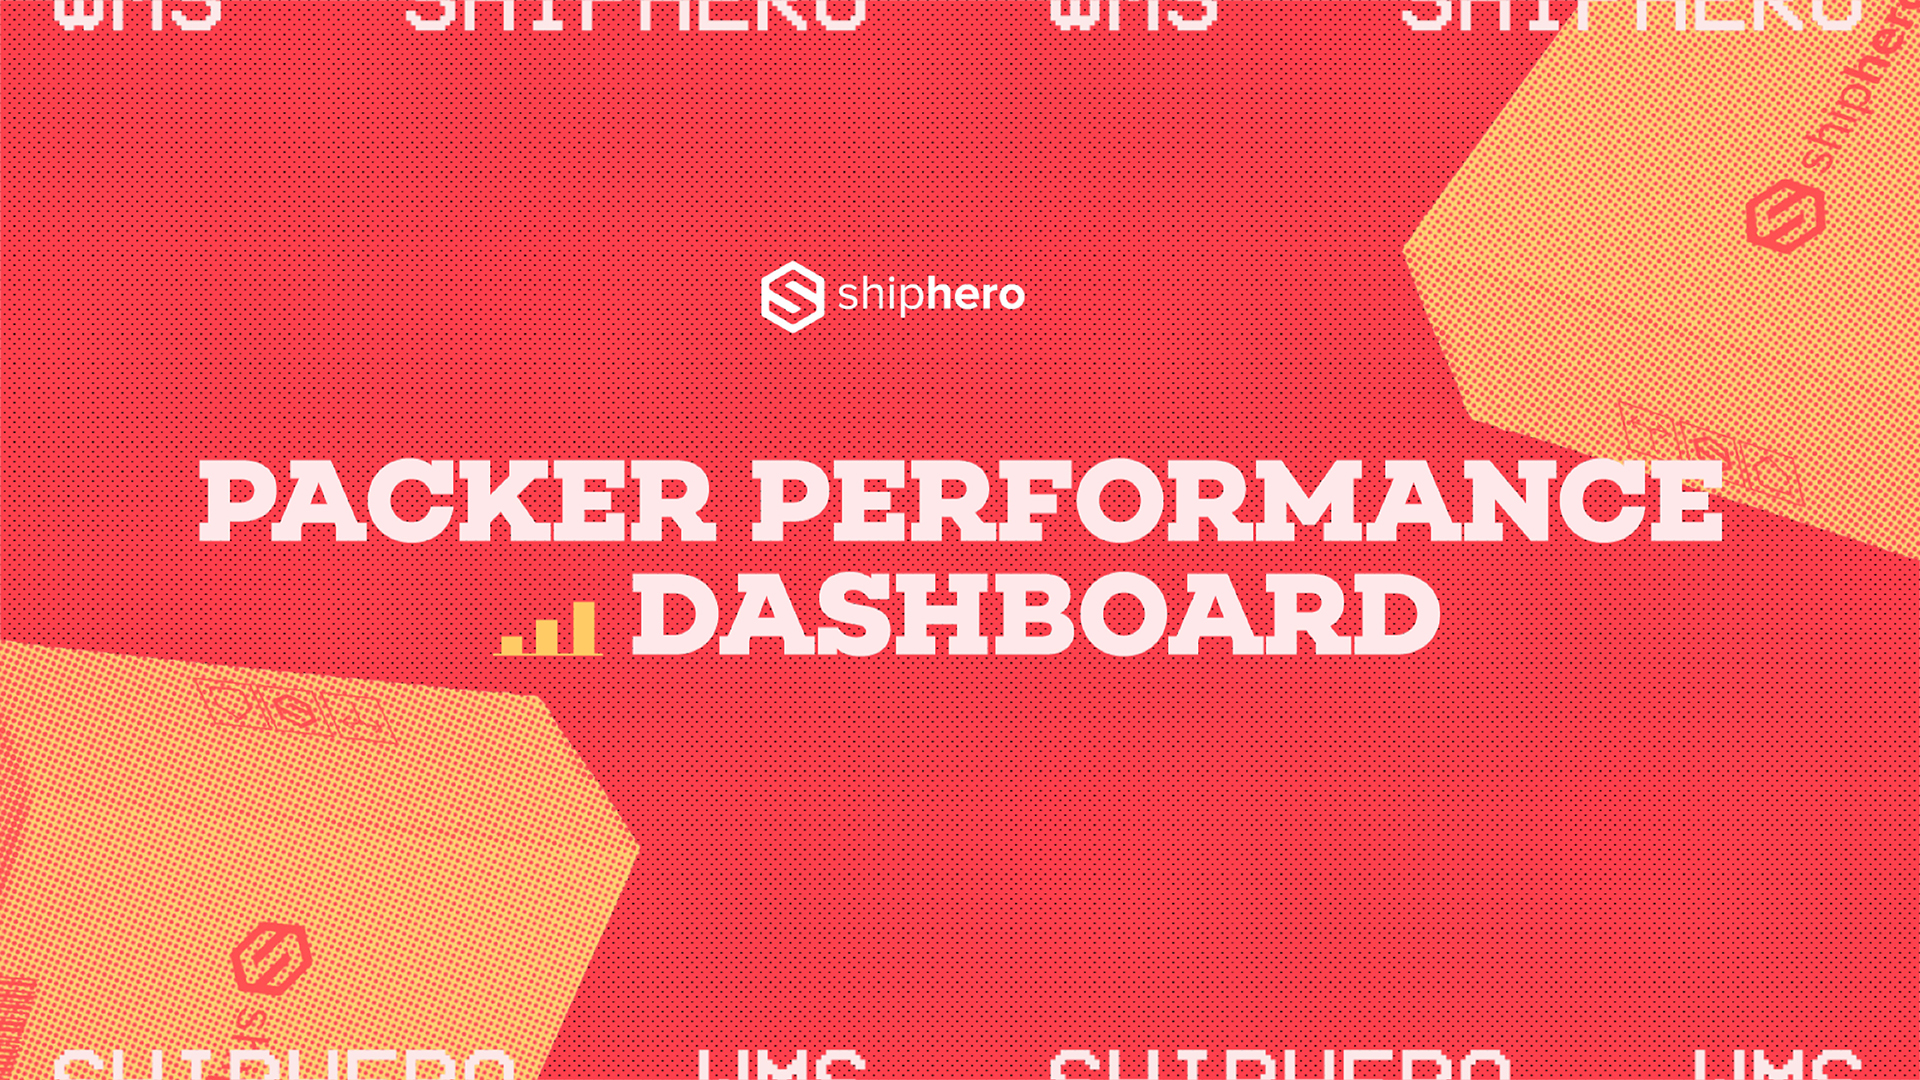
Meet the Packer Performance Dashboard, ShipHero’s latest feature that goes beyond simple pack rates.
📦 Tracks key packing events (Tote Scan, Item Scan, Print Label, Order Complete)
📈 Scores efficiency based on expected vs. actual pack time
⚡ Factors in order complexity & shipment type for real-world accuracy
Your warehouse just got smarter. Ready to optimize labor costs?
.svg)
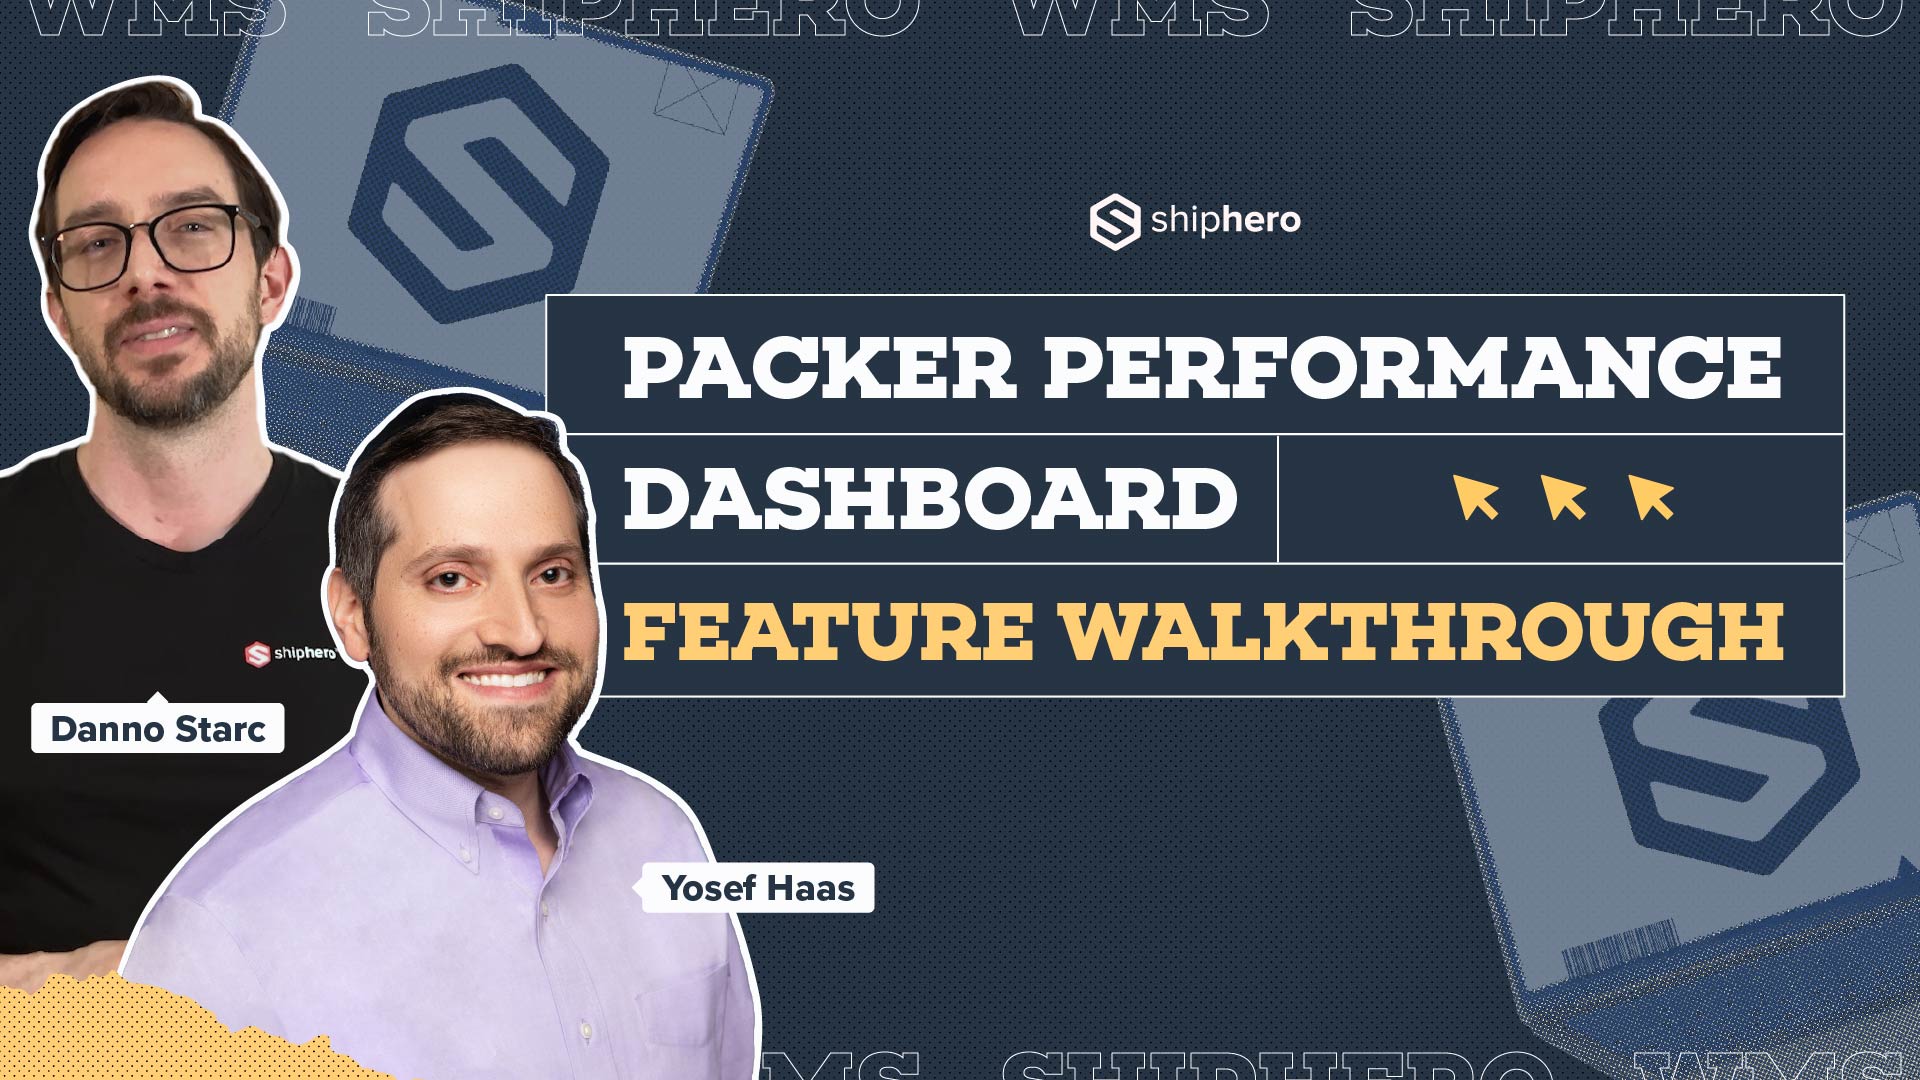
In this video, we explore ShipHero’s Packer Performance Dashboard—a powerful tool designed to provide unbiased, data-driven insights into your packing team’s efficiency. Unlike traditional productivity trackers that rely on averages, our dashboard evaluates order complexity, packing time, and individual packer performance to offer a comprehensive understanding of your warehouse operations.
Key Features Covered:
📦 Order Complexity Assessment: Learn how the dashboard differentiates between simple and complex orders, ensuring accurate performance metrics.
📦 Detailed Performance Metrics: Discover how to access real-time data on expected versus actual packing times, along with individual packer rankings.
📦 Data-Driven Decision Making: See how the tool enables fair evaluations, smarter hiring decisions, and effective team management based on factual data.
Join us for this in-depth walkthrough and see how ShipHero’s Packer Performance Dashboard can transform your warehouse efficiency.

Discover how Rohan Kumar, Founder of The Do More Company, revolutionized fulfillment for Zenergy Chewing Gum using ShipHero and Ship Apollo. From scaling operations across the U.S. and Canada to seamless multi-warehouse management, hear how ShipHero’s tools have been a game-changer!
.svg)