.svg)

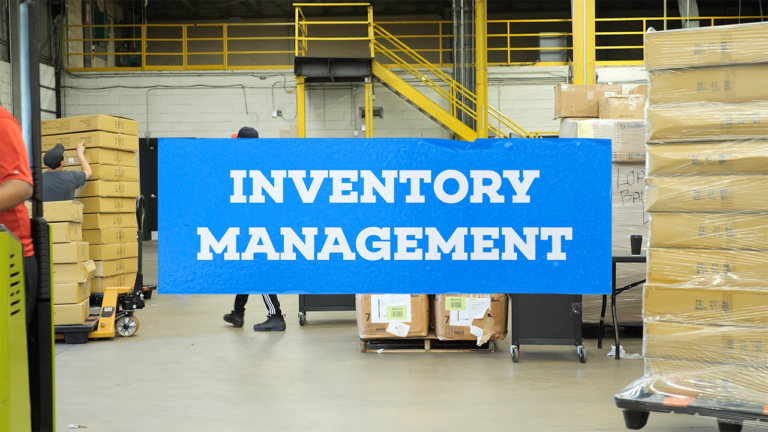
This How-To Video walks you through ShipHero's easy-to-use Purchase Orders & Receiving functionality. Check out how easy it is to manage purchase orders, report damages and receive shipments with ShipHero.
In this video, we demonstrate the following:
- Managing All Purchase Orders
- Creating a Purchase Order
- Receiving a Purchase Order
- Printing Barcodes from Receiving Page
- Receiving Products to Multiple Locations
- Rejecting Units
- Over and Under Received Products
- Editing a Purchase Order Later
- What Comes Next
In this video, we will cover utilizing and managing Purchase Orders or POs in ShipHero. With Purchase Orders, you can replenish and receive inventory into your warehouse quickly and easily. Let’s go ahead and open Purchase Orders in ShipHero. Here you can see all our existing purchase orders. You can filter them by a handful of different variables including date, vendor, and status. First, let’s create a new purchase order in app.shiphero.com. We have all of our vendors already added, so we can select which vendor we want to create a PO for, which warehouse it’s going to and the total amount of products for the PO. There are some options for auto-adding which can be based on the reorder level and reorder amount set in the product settings. …or we can add the products individually to the PO and then input the quantity needed for each product and hit ‘Save Order.’ You can also add prod ucts at purchase-orders.shiphero.com once the PO has been created. This allows you to add several different products at the same time. After that, we can change the auto-generated PO number, add the tracking information once we have it, enter the expected ship and arrival dates, and upload any attachments if needed. The quantity added to the Sell Ahead column will be added to the available inventory quantity on your various sales channels. You can add to the sell ahead field while creating the PO, or update it at a later date if needed. ShipHero allows you to email the PO directly to your supplier. If you’d like to create the PO outside of ShipHero it can be uploaded into the system or pushed in through the API from your accounting, ERP, or procurement system. Next, let’s check out a PO that’s ready to receive. We can see products, a timeline and notes, and any attachments that have already been added to the PO. The warehouse team can also upload their own attachments or images of any product that arrives at the warehouse damaged. If we have any notes for our vendor or the warehouse, we can see and update those easily. The timeline will show us all the changes on the PO since its inception. We can also update the status of the PO. Once the shipment has arrived and we are ready to begin receiving the inventory, users can scan in each individual item or scan to receive by the case if cases have been set up within the system. If products arrive without barcodes, quantities can be manually entered for each line item. If you need to print and attach product barcodes as part of your receiving process, you can do so by selecting each product and then selecting Print Barcodes. If several groups of products are in great shape, you can receive the products with no issues to report by selecting them and then selecting ‘receive as expected.’ On the receiving page, you can choose to receive all line items to a single warehouse location or split the line items to receive products into different locations as shown here. If items arrive damaged, you can reject them from inventory here and add a reason code and note. A history of rejected items can be found in the PO Rejected Line Items report. Then hit save. If you received more or less units than you ordered, ShipHero will indicate that these line items have been ‘over or under-received’ which is also included within the reporting. ShipHero knows that sometimes you notice issues after you have finished the receiving process. That’s why you can even edit after the PO has been closed previously. After bringing your inventory into your receiving location, you can easily put it away using our mobile app. Watch our feature walkthrough video on Putaway to learn more. To find out more about how to receive inventory using ShipHero’s purchase orders feature, visit our support knowledge base. And don’t forget to subscribe to our YouTube channel for more content on how to use ShipHero’s WMS. Let’s Get Shipping!

.webp)
When CEO Mendel Mangel founded Frankly Fulfillment, he initially viewed ShipHero as a competitor. But after struggling with a legacy WMS that “nickeled and dimed” every step of their growth, he realized that ShipHero’s operator-first background was actually an “astronomical benefit”.In this interview, Mendel shares how making the switch helped them scale from near zero to 65,000 orders a month while eliminating customer churn due to operational errors. He also details how the team utilizes RateShop+ to balance shipping speed against costs, ensuring efficient delivery without sacrificing margins.Watch the video to see how they stopped worrying about software limitations and focused entirely on scaling.
.svg)

"ShipHero is the Apple of shipping software." Join us behind the scenes with Mitch Mammoser, COO and Co-Founder of Frost Buddy, to see how they managed a "rocket ship" growth trajectory to nearly $80 million in sales. In this case study, discover how Frost Buddy utilized ShipHero to navigate the challenges of rapid scaling and high-volume fulfillment. Follow their journey to discover:
Watch the full story to see why ShipHero is a "non-negotiable" partner for one of the world's fastest-growing drinkware brands.

Meet the Packer Performance Dashboard, ShipHero’s latest feature that goes beyond simple pack rates.
📦 Tracks key packing events (Tote Scan, Item Scan, Print Label, Order Complete)
📈 Scores efficiency based on expected vs. actual pack time
⚡ Factors in order complexity & shipment type for real-world accuracy
Your warehouse just got smarter. Ready to optimize labor costs?

.svg)